Drawing birthday cakes is a delightful way to practice artistic skills while bringing a touch of celebration to any occasion. Whether you’re an aspiring artist or simply looking to enhance your creativity, this guide will lead you through a systematic approach to master birthday cake drawing in 10 simple steps. This process will not only improve your artistic abilities but also make your drawings more vibrant and lifelike.
Why Learn to Draw Birthday Cakes?
Drawing birthday cakes can be an enriching hobby that helps develop fine motor skills, observation skills, and creative expression. Moreover, it’s a fun and rewarding way to engage with art, especially when you get to share your creation with loved ones during festive celebrations.
Key Insights
- Focus on proportions and details for a realistic effect.
- Utilize shading techniques to add depth and dimension.
- Start with simple shapes to build confidence.
Step-by-Step Drawing Guide
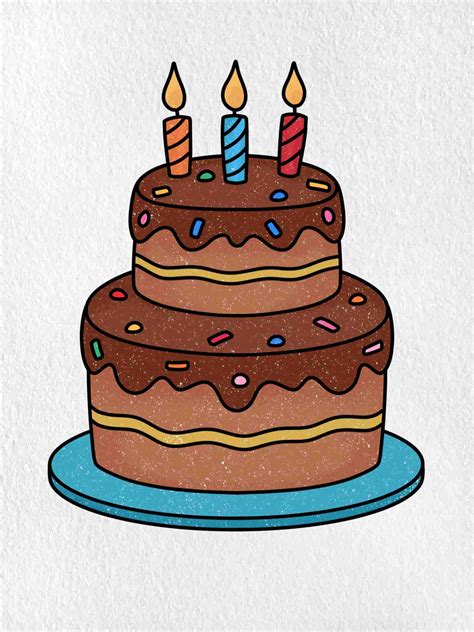
Here’s how to draw a birthday cake that looks stunning and impressive.
Step 1: Draw the Cake Base
Start with a simple rectangle for the cake base. This represents the sturdy foundation of your cake, so accuracy is key.
Step 2: Add the Cake Layers
Next, draw another slightly smaller rectangle on top of the first one. This will serve as the upper layer of the cake, creating the illusion of depth.
Steps 3 to 7: Detailing and Shading
Now it’s time to add details and bring your cake to life. Draw vertical lines to represent the edges of the cake layers and add horizontal lines to create distinct layers. Don’t forget to add small doodles like sprinkles or small decorations.
Step 8: Candle Placement
Position candles across the top of the cake. Begin by lightly sketching small vertical lines, then outline the candles with precise curves for realistic wicks.
Step 9: Adding Frosting and Decorations
Use smooth, curved lines to add frosting around the top edge of the cake. Draw intricate patterns or swirls to make the frosting look thick and appealing.
Step 10: Final Touches with Shading
Add shading to all elements to give your cake dimension. Focus on areas where light naturally falls, such as the bottom of the cake and the sides of the candles.
Tips and Tricks
To perfect your birthday cake drawings, consider these tips:
- Use a reference photo: Having a real cake or a detailed image helps in understanding textures and proportions.
- Experiment with colors: Use different colors to make your cake more vibrant.
- Practice regularly: Consistent practice will significantly improve your skills over time.
What if my drawing looks flat?
Ensure you add shading and highlight areas properly. This technique adds depth and brings your drawing to life.
Can I make my cakes more realistic?
Yes, adding texture details and using various shading techniques can make your cakes look more realistic.
By following these steps and tips, you will master birthday cake drawing in no time. Happy drawing!